WD - Job Aid - EXPENSE REPORTS - Create Expense Report
Create an Expense Report 
Employee
Overview:
Workday provides functionality for team members and team leads to have the ability to submit expenses incurred for business related trips. Expense reimbursement will happen through payroll.
This job aid covers:
• Adding Payment Elections
• Create an Expense Report
• Itemizing Hotel Expenses
Adding Payment Elections
Expense reimbursement will happen via payroll. To receive reimbursement, you’ll need to add a payment election into Workday prior to submitting your first expense report. |
1. Click the Expenses Hub application from the Global Navigation Menu. | 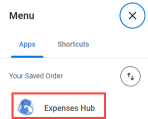
|
2. Click Payment Elections in the flyout on the left-hand side. | 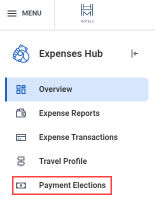
|
3. Click the Add button. 
|
4. Select the Expense Payments to display your payroll provider. In this case it is External Processor Ultipro. 5. Click OK. | 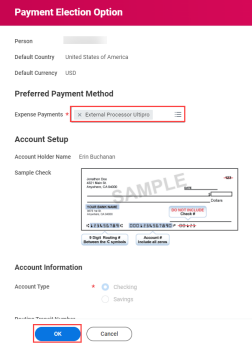
|
1. Click the Expenses Hub application from the Global Navigation Menu. | 
|
2. Click Create Expense Report from the Actions menu. 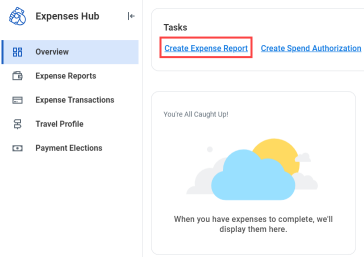
|
3. Click the Create New Expense Report radio button. Note: To copy an existing Expense Report, check the Copy Previous Expense Report radio button, then select the report you wish to copy. 4. Add a Memo, as applicable. 5. The Company defaults to your Company. 6. The Expense Report Date defaults to today’s date, change this date as necessary. 7. Add Business Purpose. 8. Cost Center defaults based on Business Purpose. | 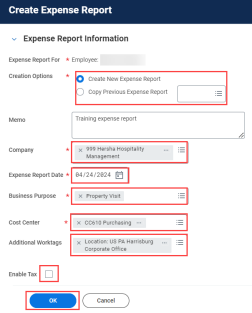
|
9. Enter any Additional Worktags as applicable. 10. For Canadian employees, click the Enable Tax checkbox. 11. Click OK. |
|
12. In the Expense Lines section, click Add. | 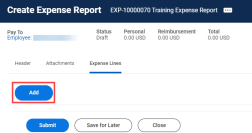
|
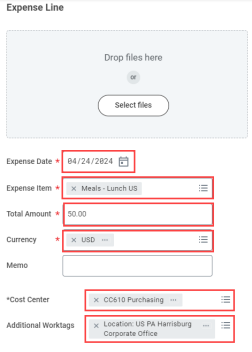
13. Complete the required details including: a. Add Attachments for Expense lines by dropping files or selecting files from your device. b. Expense Date – defaults to today’s date but cannot be a date in the future and should match the receipt date. c. Expense Item – depending on the Expense Item you select, different required fields display (e.g., Accommodation requires hotel name, date range, and additional itemization; Airfare requires airline, class service, etc.). d. Total Amount – total amount of expense line. e. Currency – the currency for the expense line (example: USD or US dollar).
f. Add a Memo, as applicable.
| 
|
14. In this example, we are creating an expense report for a meal. This will require you to add the following item details. a. Attendee – will default to your name. Add additional attendees as applicable. For example, if you are expensing a meal, include all employees who attended. b. Destination – your location (e.g., Hummelstown, US). c. Business Reason – the reason for the expense line (e.g., client lunch). d. Merchant – where you incurred the expense (e.g., The Best Restaurant). e. Gratuity – amount of gratuity. | |
Itemizing Hotel Expenses
1. Create the Expense Report per above section. Note: If your Expense Item is Hotel Lodging you will be asked to enter Item Details. 2. Enter the following Item Details: a. Hotel b. Arrival Date c. Departure Date d. Destination e. Business Reason 3. Click on Allocating to Multiple Properties if your expense should be allocated to more than one property. | |
4. Click Edit under Itemization. 5. Click the Receipt Included checkbox. | |
6. Validate all itemized fields, which will default from expense line entries. 7. Click Done. |